
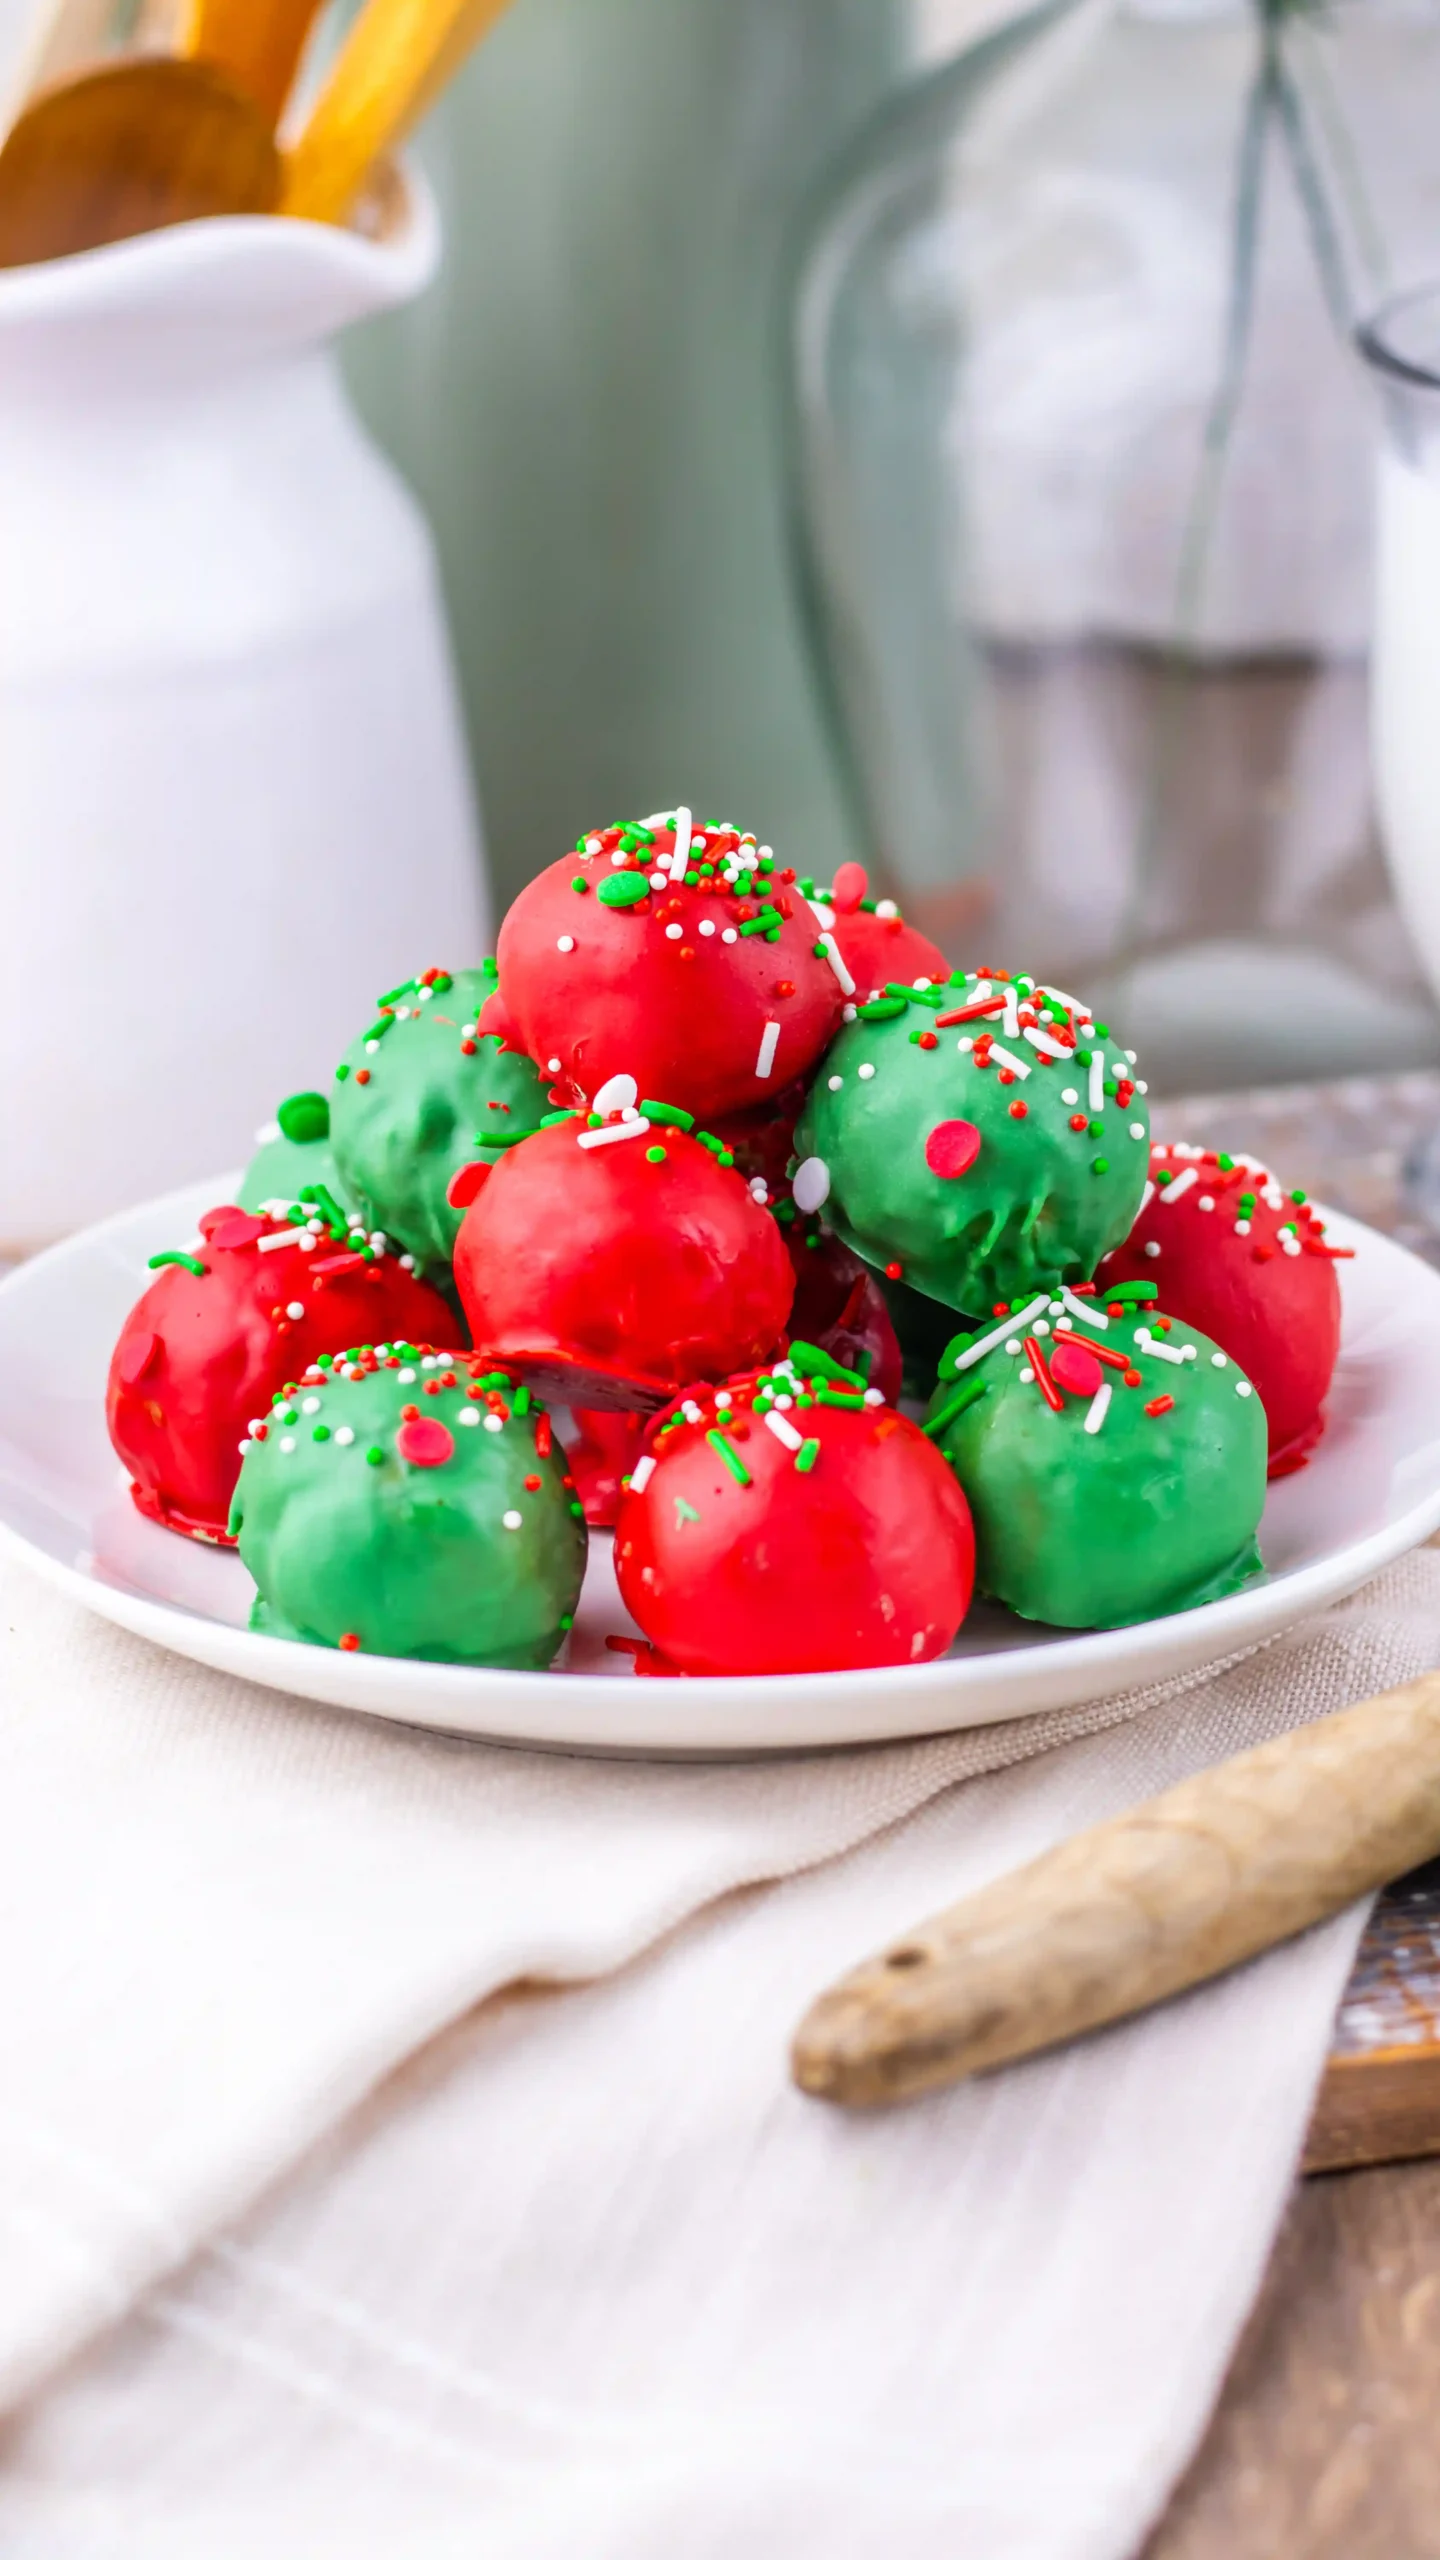
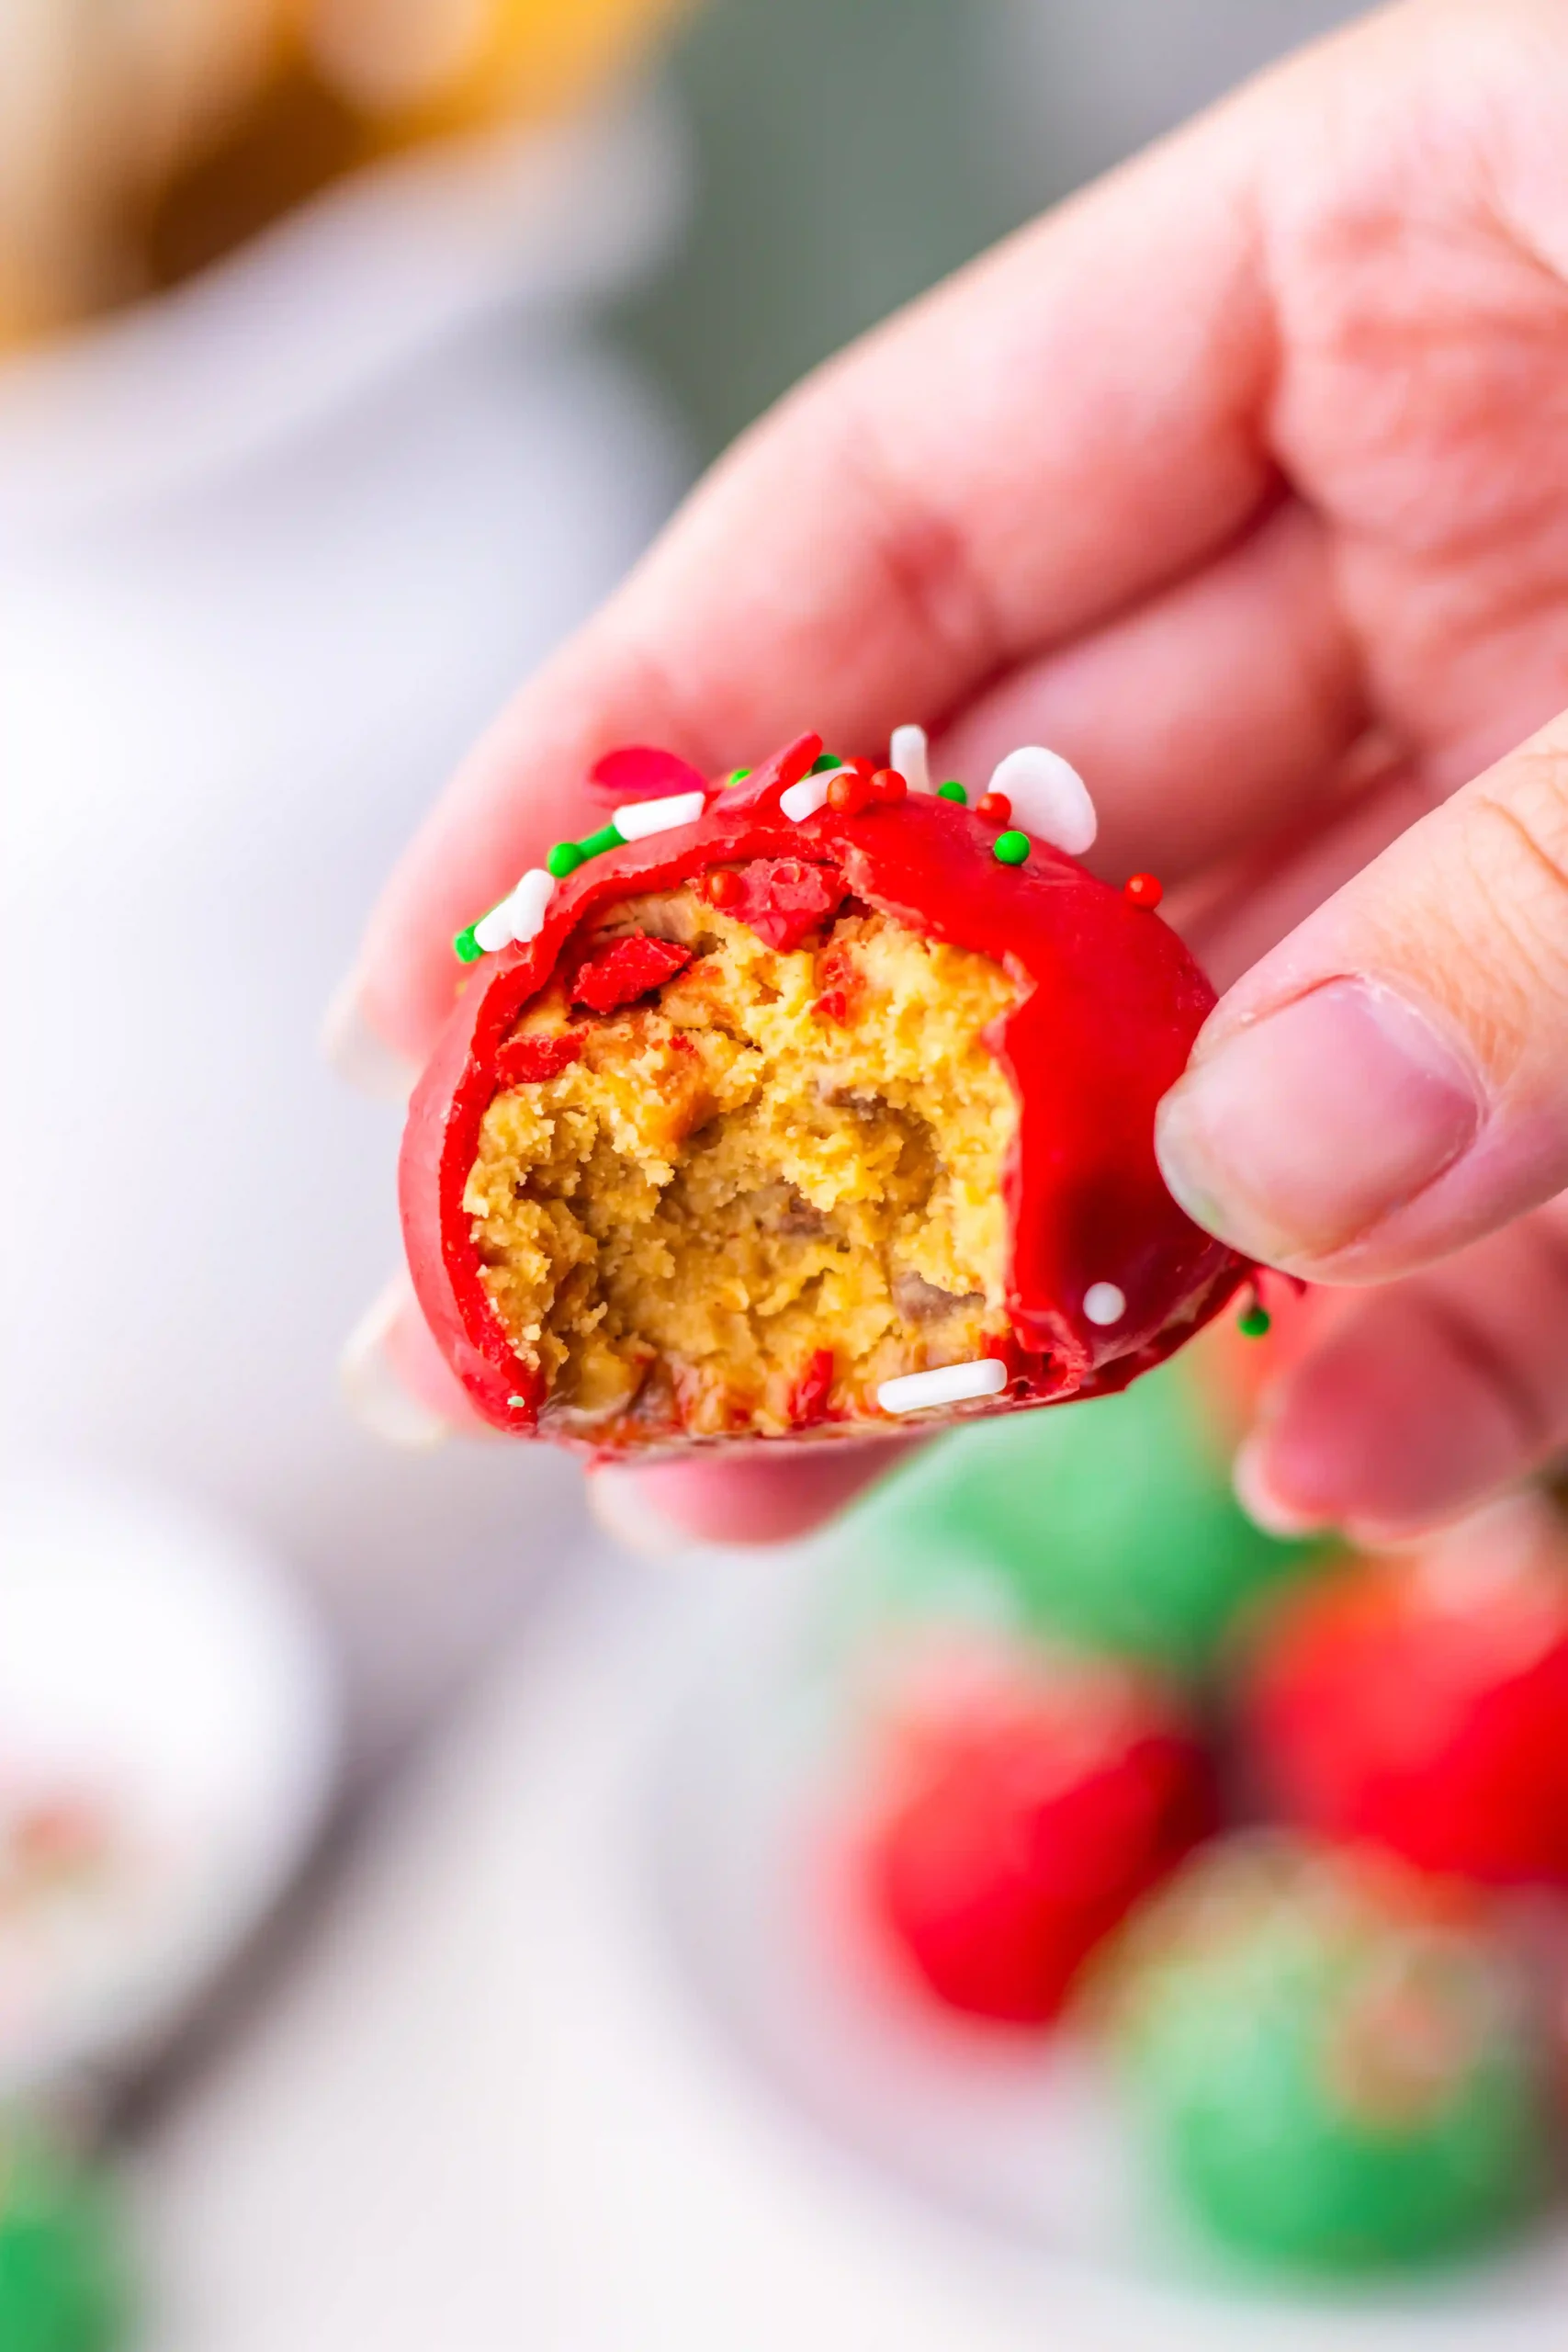
These Christmas Butterfinger balls are a delicious homemade Butterfinger recipe that’s sweet and crunchy. Made with peanut butter, crushed Butterfingers, and powdered sugar, the balls are coated in red and green candy melts and topped with Christmas-themed sprinkles. These make a great Christmas dessert that’s perfect for Christmas parties, cookie tins, or given as a homemade Christmas gift.

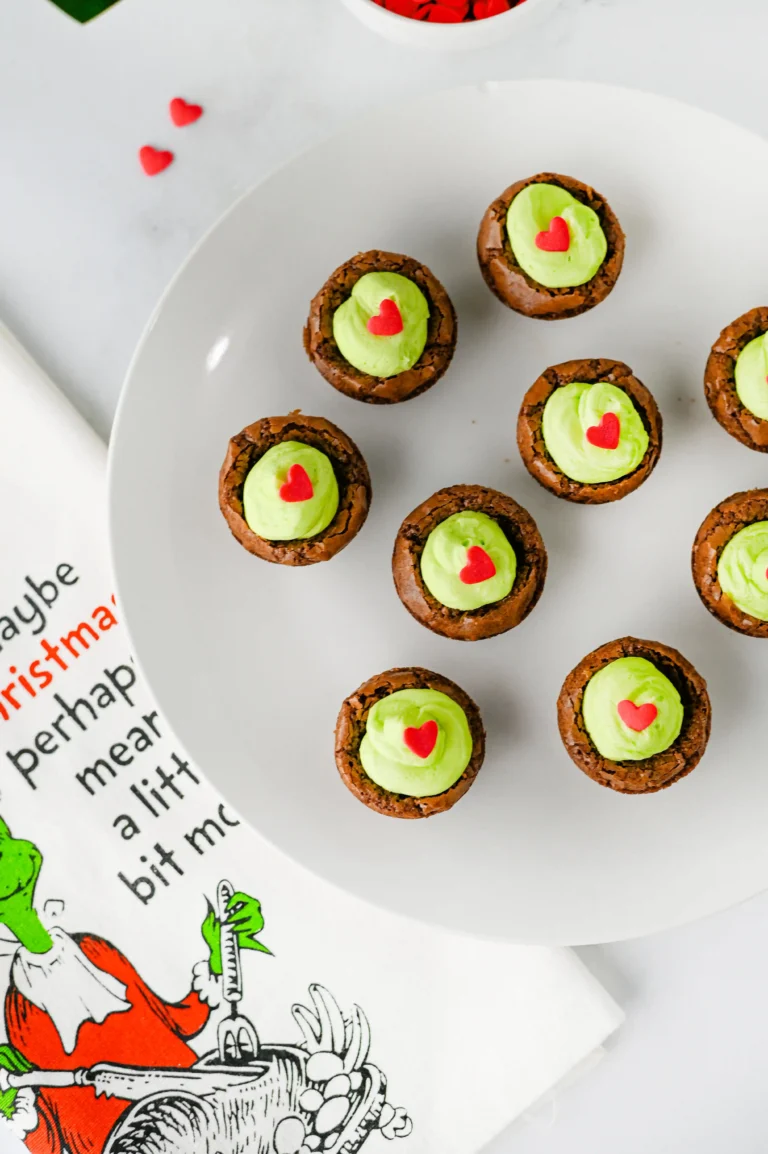
And, if you want more delectable Christmas desserts to pair with these Christmas Butterfinger balls, try these hot cocoa brownie bites.
This post may contain affiliate links, please read our disclosure policy for details.
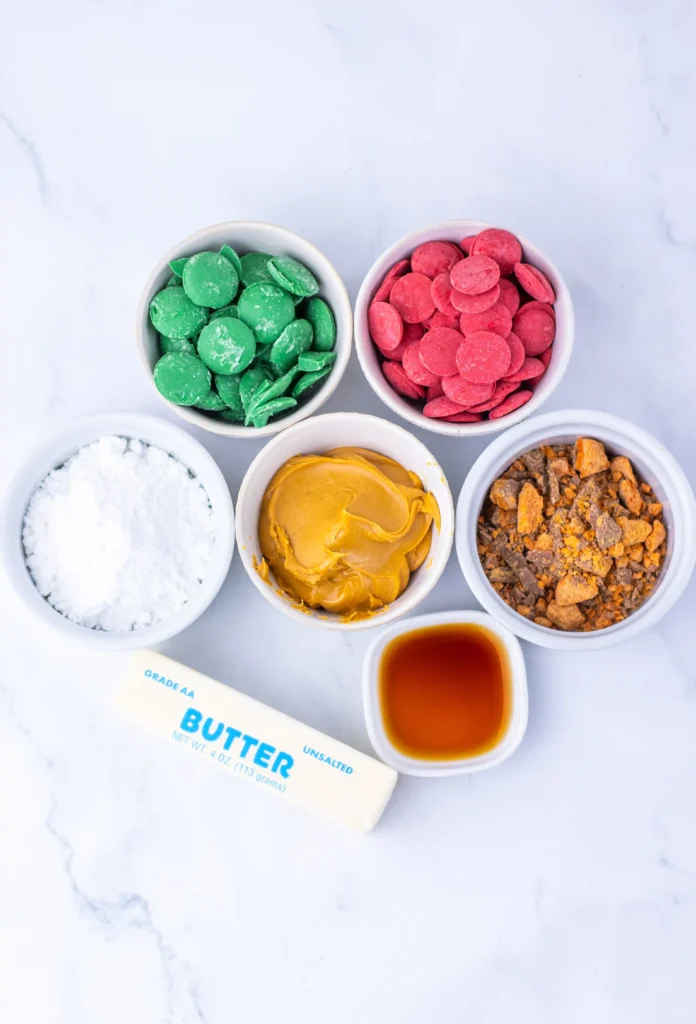
Ingredients For The Christmas Butterfinger Balls
Join the List
Subscribe
How To Make These Christmas Butterfinger Balls
1. Line a baking sheet with parchment paper.
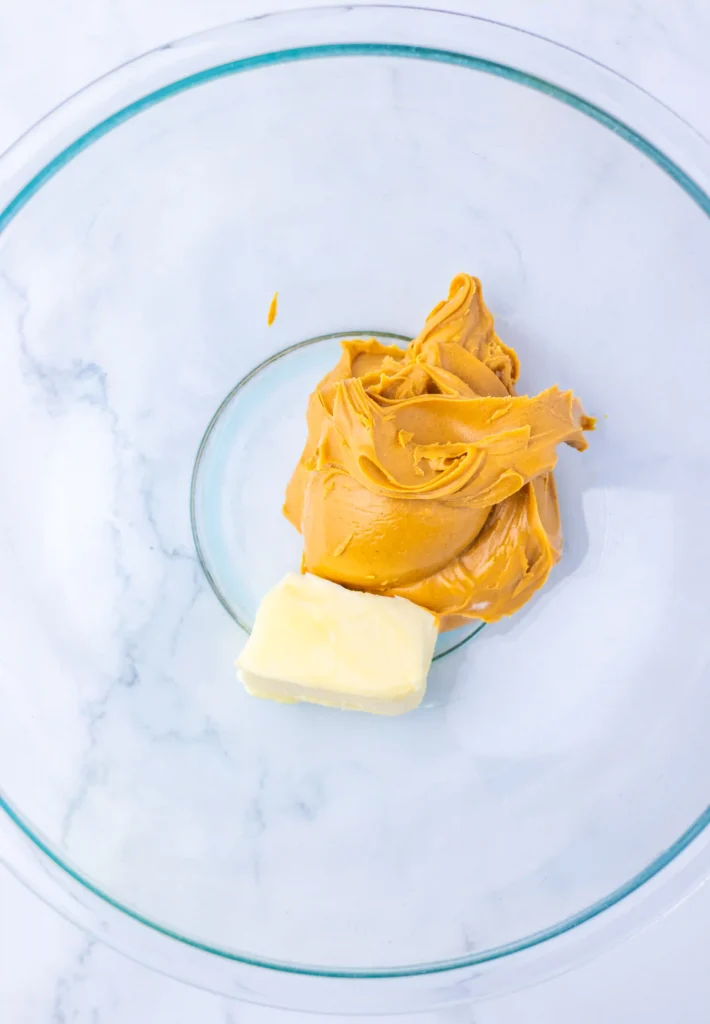
2. Add the peanut butter and softened butter to your large mixing bowl. Beat until it is smooth and creamy, then mix in the vanilla extract.
3. Slowly and gradually add the powdered sugar, mixing until they are completely combined. Fold in the crushed Butterfingers until they are evenly distributed. The batter should be thick enough to roll into balls.
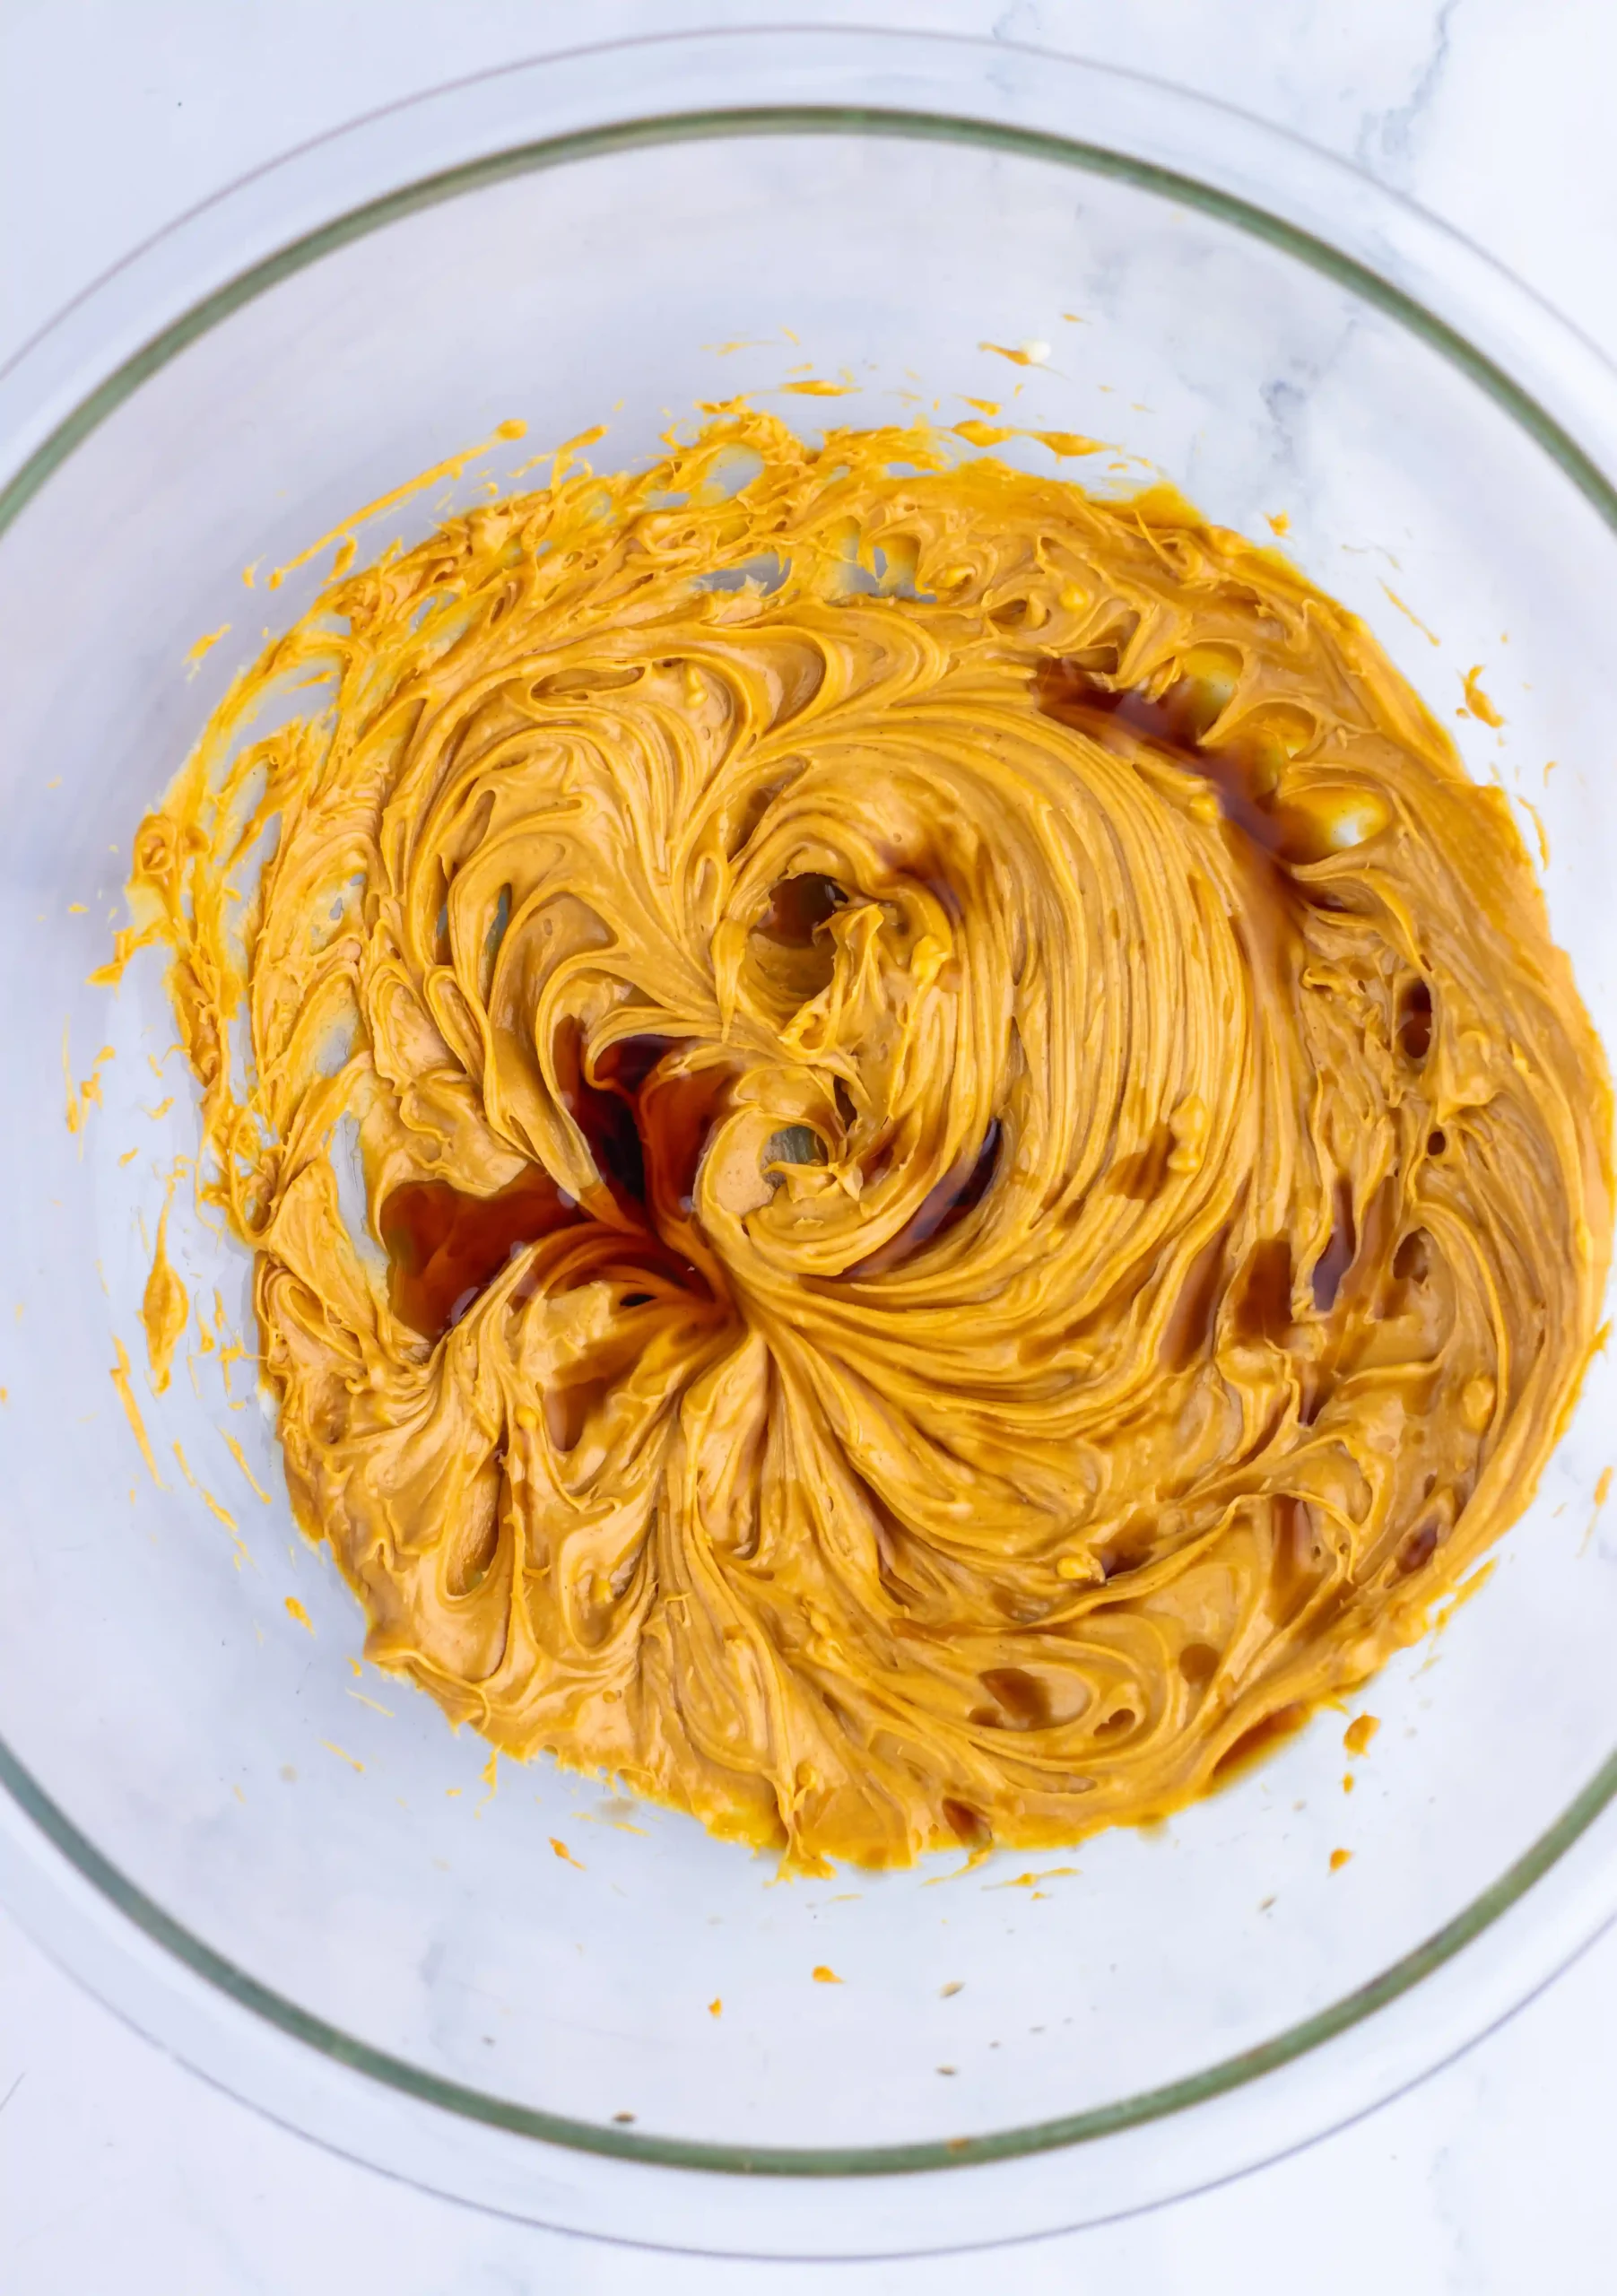
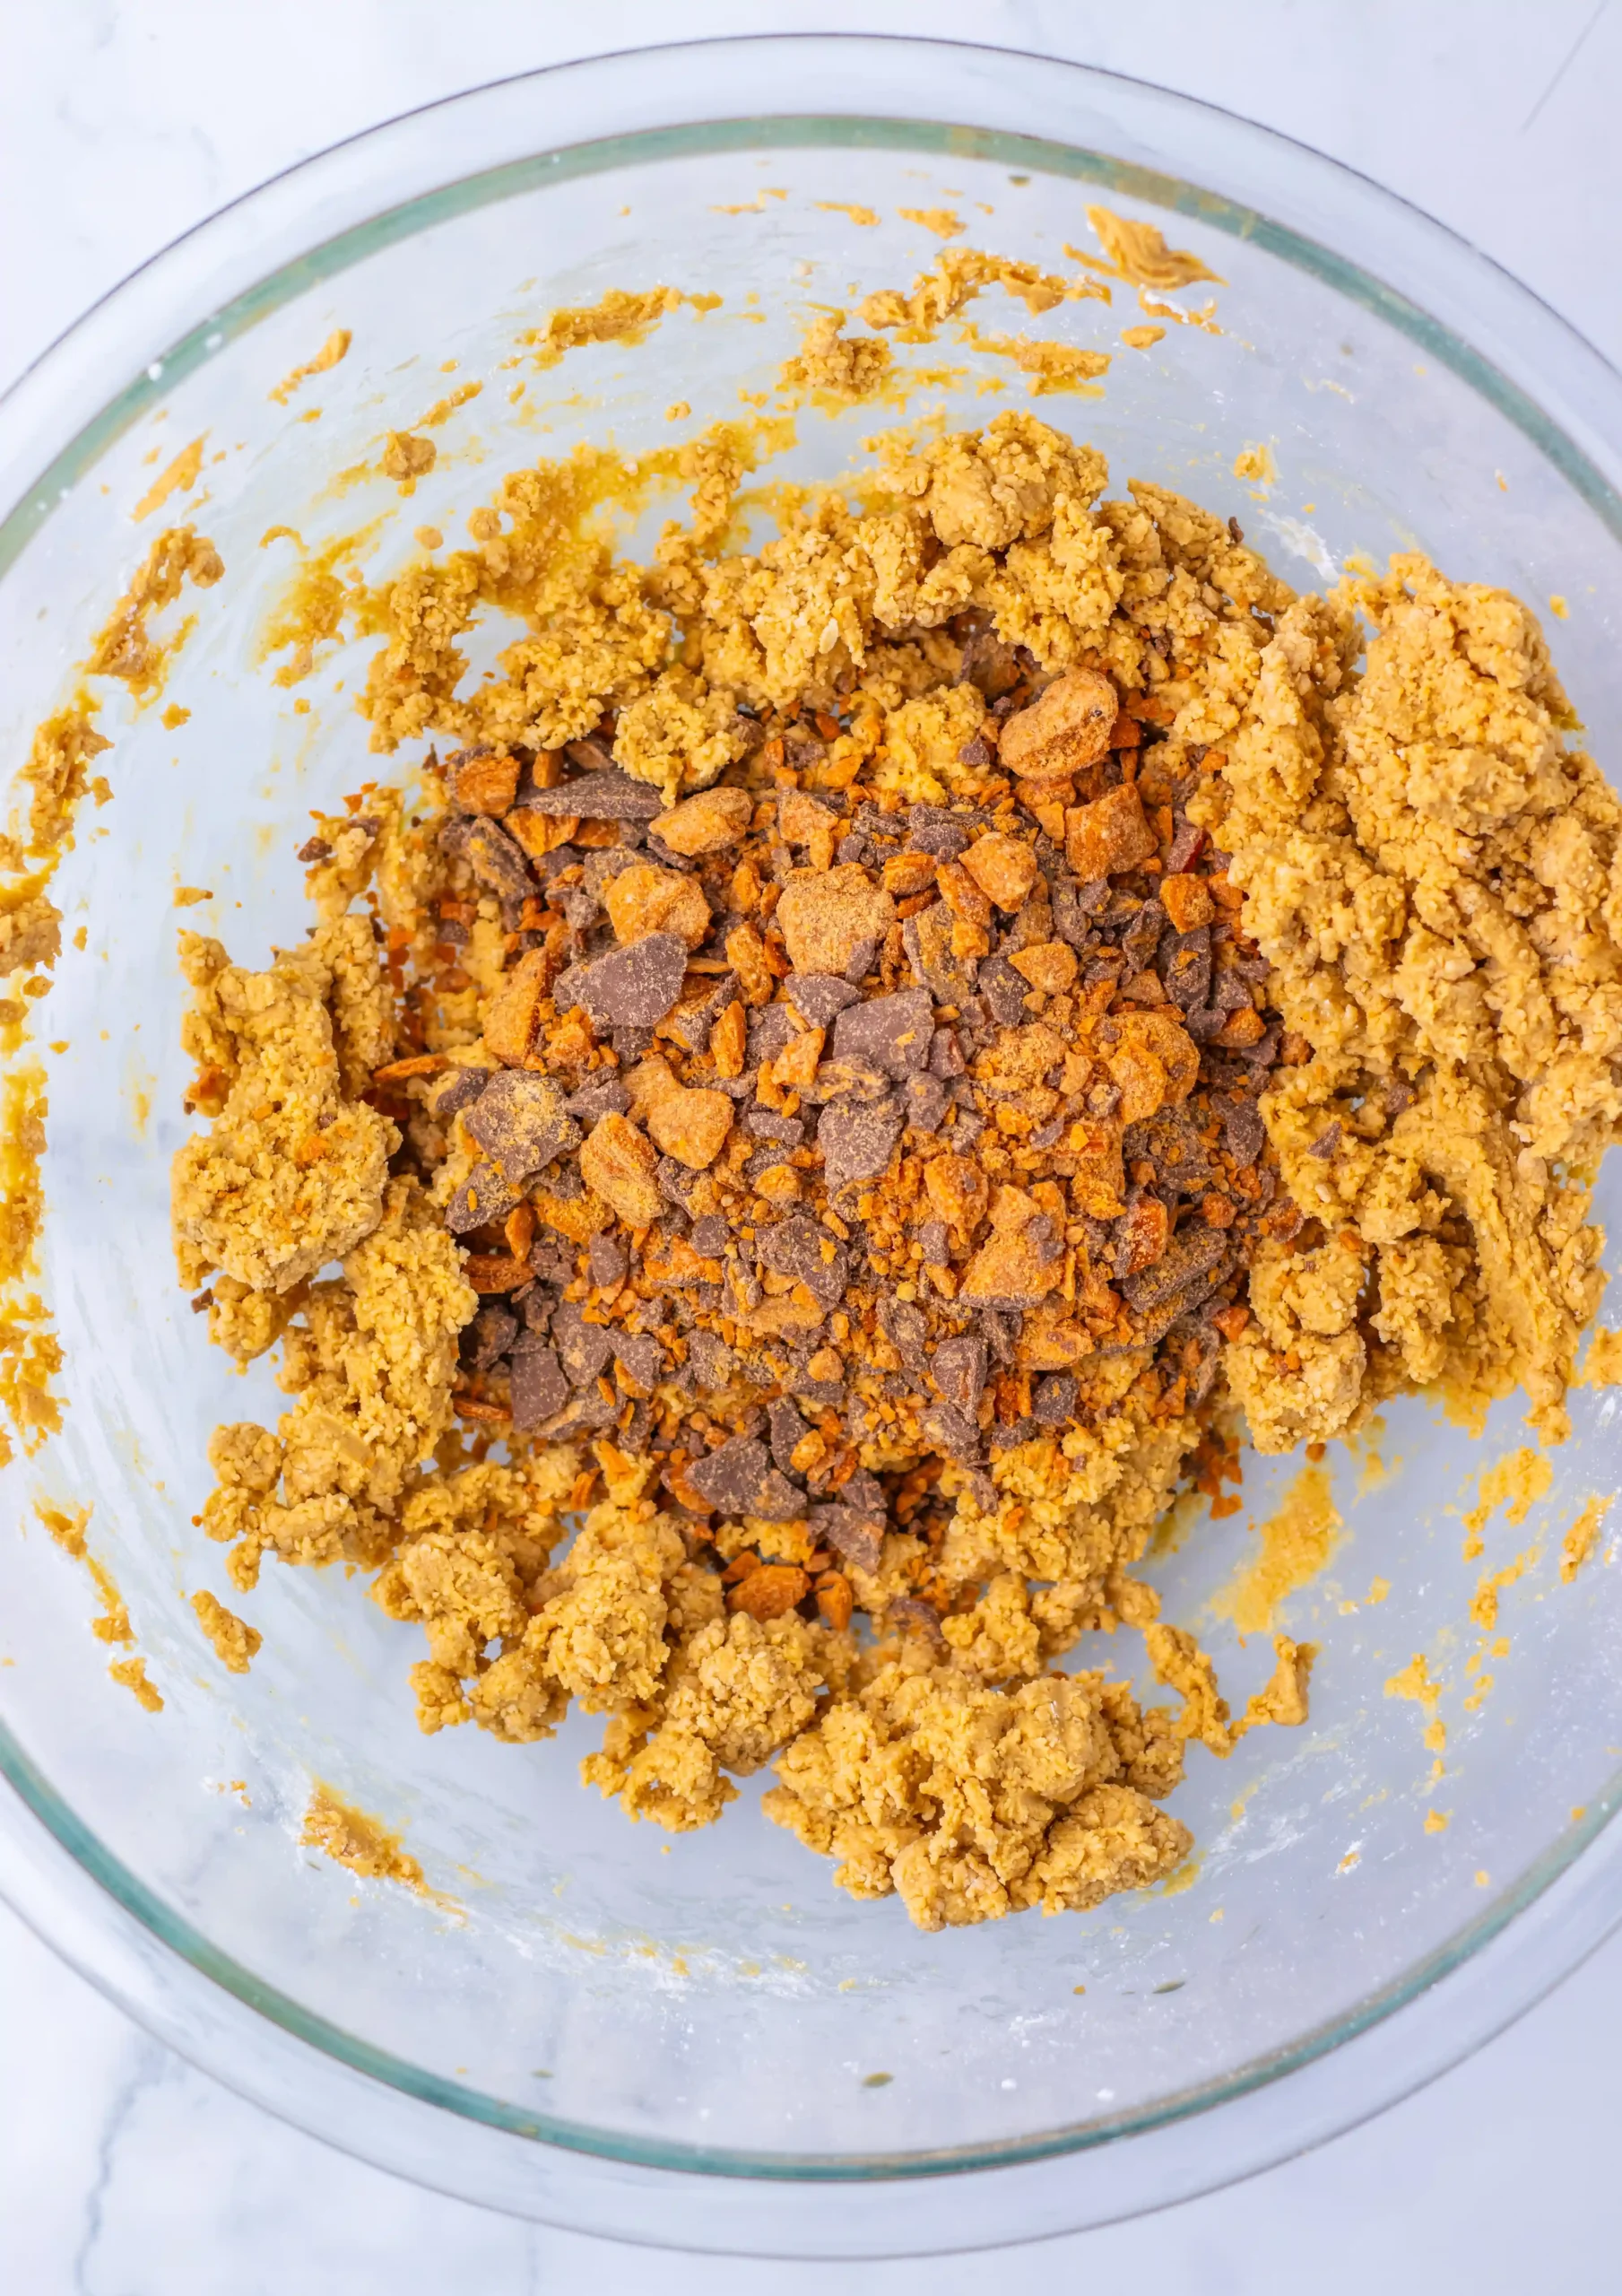
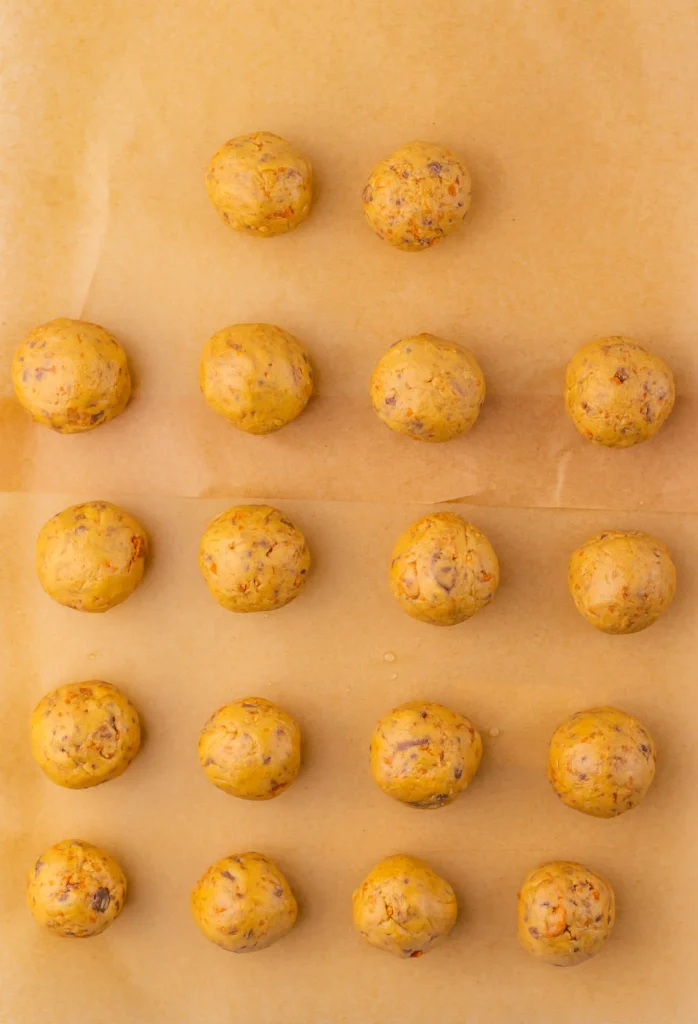
4. Scoop 1 tablespoon of the mixture at a time. Roll it in between your hands to form smooth balls and place them on the baking sheet with parchment paper,
5. Refrigerate the Butterfinger balls for 30 minutes, or until firm.
6. After the balls are firm, melt the red and green candy melts in microwave-safe bowls. Start with one color. Melt it in 30 second intervals and stir in between, until it is completely melted. If the coating is too thick, you can stir in a small amount of coconut oil or shortening to thin it out.
7. Using a fork, dip half of the Butterfinger balls into the coating. Allow the excess coating to drip off before placing them back on the parchment paper.
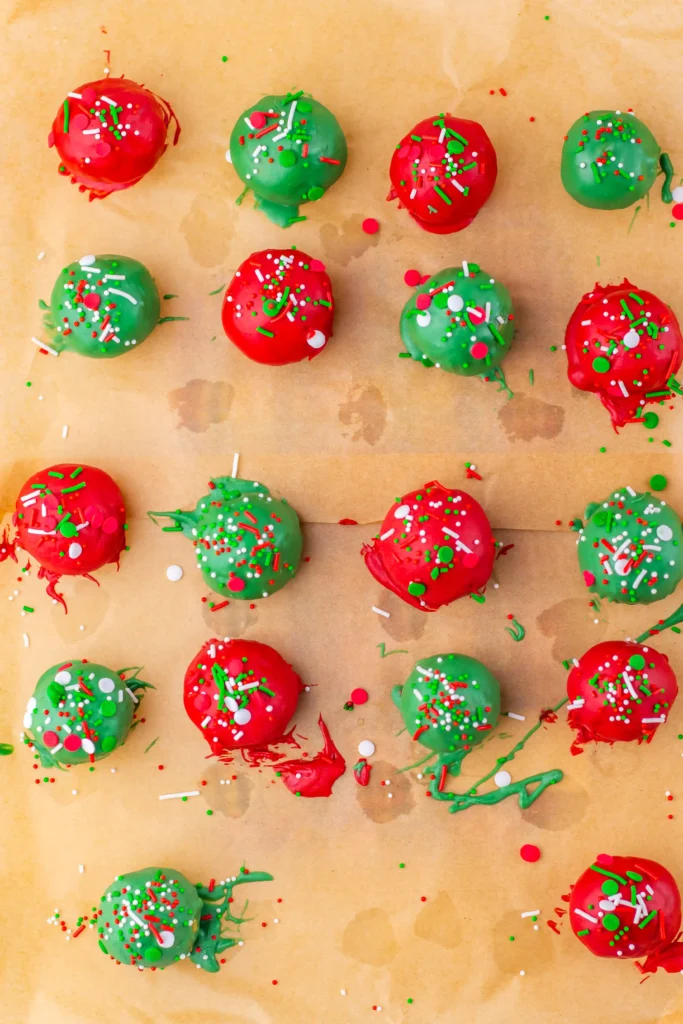
8. While the coating is still wet, sprinkle Christmas-themed sprinkles in top of each ball. You can also add more Butterfinger crumbles to the top if wanted.
9. Repeat with the other colored candy coating.
10. Refrigerate the Christmas Butterfinger balls for 30 minutes, or until the coating is completely set.
11. Store them in the fridge until they are ready to be served.
Important Recipe Notes
Store the Butterfinger balls in an air-tight container in the fridge for 2-3 days.
Crush the Butterfinger bars fairly finely so they balls hold together and are easy to shape.
For smaller sized treats, use 2 teaspoons of filling instead of 1 tablespoon.
If the peanut butter mixture is too soft to roll, refrigerate it for 15-20 minutes.
Work with one color candy coating at a time. If it sits too long, the melted candy coating can become hard.
More Christmas Desserts
Print
Christmas Butterfinger Balls
- Total Time: 1 hour 25 minutes
- Yield: 24 1x
Description
These Christmas Butterfinger balls are rich, crunchy, and easy to make! A fun no-bake holiday treat perfect for cookie trays or gifting.
Ingredients
- 1 cup creamy peanut butter
- 4 tablespoons unsalted butter, softened
- 1 teaspoon vanilla extract
- 1 1/2 cups powdered sugar
- 1 1/2 cups finely crushed Butterfinger candy bars
- 8 ounces red candy melts
- 8 ounces green candy melts
- 1–2 teaspoons coconut oil or vegetable shortening, optional for thinning the coating
- Holiday sprinkles or extra crushed butterfingers are optional for topping
Instructions
- Add the peanut butter and softened butter to a large mixing bowl. Beat until smooth and creamy. Mix in the vanilla extract.
- Gradually add the powdered sugar, mixing until completely combined. Fold in the crushed Butterfinger candy until evenly distributed. The mixture should be thick enough to roll into balls.
- Scoop about 1 tablespoon of the mixture at a time and roll it between your hands to form smooth balls. Place them on a parchment-lined baking sheet.
- Refrigerate the balls for about 30 minutes, or until firm. Place the red and green candy melts in separate microwave-safe bowls. Microwave each in 20–30 second intervals, stirring well between each interval, until completely melted and smooth. If needed, stir in a small amount of coconut oil or shortening to thin the coating.
- Using a fork or dipping tool, dip half of the Butterfinger balls into the red candy coating and the remaining balls into the green coating. Allow the excess coating to drip off before returning them to the parchment lined baking sheet.
- While the coating is still wet, sprinkle each ball with additional crushed Butterfinger pieces or sprinkles. (optional)
- Refrigerate for about 20–30 minutes, or until the coating is completely set. Store refrigerated until ready to serve.
- Prep Time: 25
- Chill Time: 1 hour
- Category: Dessert
- Method: Assembly
- Cuisine: American